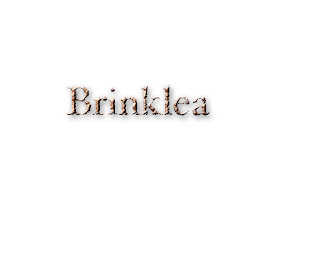
Step1: Click on the gradient tool. In the Options bar, clickonthe gradient thumbnailto bring up the gradient editor. When it appears, double- click on the left colors stop. When the color picker appears,click on the custom buttom, then choose Pantone 722, and click ok. Double-click on the right color stop; this time choose Pantone 732. Click ok.
Step2: In the options bar, click on the radial gradient icon. Using theis tool, click and drag from the center to the top of the background layer. Go under the filter menu, under noise, and choose aadd noise. Enter 12% for amount, choose Gauuian, check monochromatic, and click ok.
Step3: Then go under the filter menu blur and add choose motion blur. Enter 33º for angle and 10 foe distance. Click ok. Now go under the filter menu, under sharpen, and choose Unsharp mask. Enter 500%for amount, 9.0 pixles for radius, and 1 for threshold, then click ok.
Step4: Type you text. Go under the layer menu, under rastersize, and choose type to convert your type layer into a regular image layer. Now under Brush strokes. Type 12 for stroke length, 7 for radius and ight diagonal for direction click ok.
Step 5: Click the magic wand tool. Click once in your first letter of your word. Then go under the select menu and choose similar to selectthe rest of the letters. Under the select menu choose inverse. Now pree delete to remove the little chunks of white space around the letters created by the brushed strokes filter.
Step6: Go under the select menu and choose inverse. Drag your text layerinto the trash to delect it. Press apple+j to put the selected backgrond area up on its own layer. In the layer palette, click ance on the background layer. Press apple+a then prress delect. Press apple+ to deslect.
Step7: Click on your layer text layer. Choose bevel emboss from the layer styles menu at the bottom of the layer palette when the dialog box appears, increase the depth to 400% and decrease the size to 4. Increase the highlight opacity to 90%. From the left side of the layer stye diaglog box, click on th word drop shadow to bring up its options. Increase he size to 8, lower the opacity to 50% and click ok.
Step8: Choose the lasso tool. Make a thin selection in the center of each letter. Rember to hold down the shift key. Press apple+c to copy. Add a new layer press apple + v to paste. Change the layer mode from normal to color burn.
Step9: Duplicate your new layer. Now duplicate your duplicate layer change the layer mode from color burn to screen. Click on the move tool. Press the right arrow twice the down arrow key once.
No comments:
Post a Comment